
I woke up at around 10 feeling gross and eager to get ready for the day!

I used some deodorant to stop myself from getting smelly..

Brushed my teeth to get rid of that morning breath..

and wiped my face so it was free of all makeup that had managed to escape the face wash of the night before!

I primed my whole face with a good spritz of Mac Fix +


Followed by some insta blur where I wanted to make sure the foundation sat perfectly and stayed in place all day: My chin, cheeks and nose.

Next I primed my eyelids with Urban Decay's Primer Potion, sorry for all these awkward shots, iestyn was watching the football so I didn't wanna disturb him to take the pics for me like he usually does!


Next I applied my revolution pro foundation drops (which I'm still testing out for a review coming soon) all over my face with a damp beauty blender.

This is the result of a about 3 drops on either side of my face before concealer or anything else on my face!

I really like the coverage and dewy finish of this foundation on my dry skin.

Here's a close up too so you can see the finish on my skin better

Next I applied my new Too Faced Born This Way concealer.

I took this photo so you could see how I apply this. Under my eyes and on my chin and nose.

And here's my face with the concealer and foundation before any powders so you can see the coverage of both together.

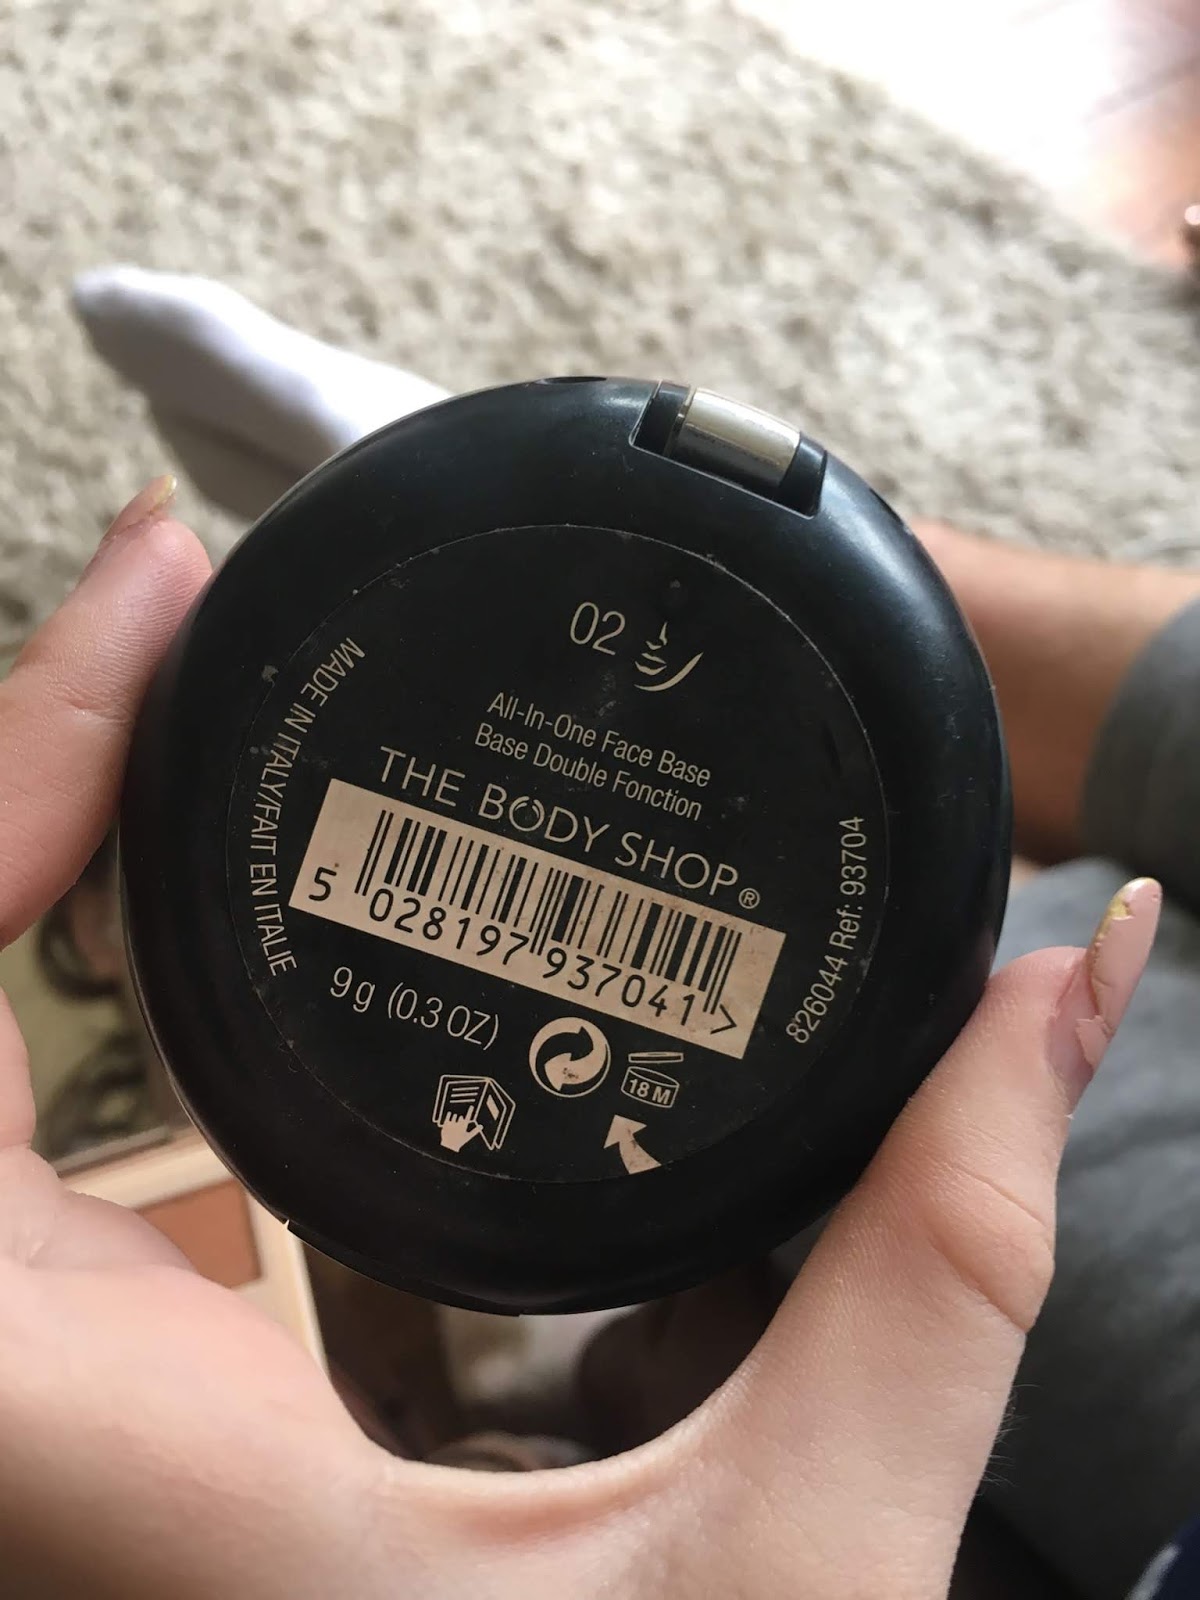
To set my face and add a little extra coverage, I just this body shop powder foundation. I opted for a powder foundation over a setting powder as I know the foundation drops are very dewy and medium coverage. The powder foundation just helped boost everything up to full coverage whilst keeping everything in place.

Once everythings set in place, I used the contour shade from my revolution sculpt and contour palette, which is a holy grail item for me

Once my subtle contour was done, I went in with my large juicy couture face brush with hoola, on my cheeks, forehead and neck. Now the suns out this is actually a gorgeous match for me again and I'm obsessed.

Now time for one of my favourite parts of doing my makeup at the moment, blush! I used the shade I'm pointing too in this revolution blush palette in hot spice. This palette is gorgeous and now I know the amazing quality, I'm excited to try out some others too.

Once my bronze and blush was all done, it was time to sort out my brows! This is my holy grail brow product at the moment, benefit do brows soooo good!

Here's my face now I've done my contour and bronze and brows etc!


Now time for the eyes! I used the Soph X Revolution Extra Spice palette today. I took the shade cookie dough in my crease with a next fluffy blending brush.


Then I took the same brush and went into Cheesecake

I blended this downwards so the majority of it went into the lid rather than the crease


To smoke it up every so slightly, I took enchanted (again with the same brush) and gently blended it into the outer corner to add some depth to the crease.

This next bit may seem a little strange but you've gotta trust me.. it works! The light end of my NYX wonder stick isn't a good formula for my skin as a highlight or concealer, so I had the idea to use it as the base for my cut creases.. and it really works! The shape of it makes it so easy to carve out your lid and the shadow sits on top of it so well and stays in place all day! Today I used it to do a kinda half cut crease.

Here's an example of how much I covered for todays look. the left hand side is with the concealer applied, the right is without.

I then took the stunning shade infinity and pressed it on top of the concealer with my finger. I find this the best way to get the most out of these shadows and the result is truly stunning! I wish the camera picked up the gorgeous silver shade and didn't just make it look white!


Next I took the shimmery shade, romance, to put on the outer corners of the silver to blend the colour change together, and took cheesecake through the crease again to build up the pigment over the top of the silver. Both these steps were vital to making the lid colour a lot less harsh.

Here are some pictures where the left side is blended with romance and cheesecake and the right side is not.


Next I went into the original Soph X Revolution palette and mixed the shades penguin and pancakes together to blend out all the edges and tidy the whole look up

Then, going back to the extra spice palette, I took my brush into the stunning shade Chocolate Orange and applied it just below my lower lash line

Eyeshadow done!


For liner, I took the shade Reputation one a thin brush and applied it close to my lash line

For mascara I used one of my old faves which I recently rediscovered when Mac sent me a sample of it

Just so you can see how nice and fluttery this makes your lashes, I took a picture with mascara on the left side and nothing on the right. This isn't at all a clumpy, thick mascara but it's stunning.

To set my face, I used Max Fix +

Just before doing my own makeup, I watched a revolution beauty video where they shared a makeup tip I'd never heard of and thought I'd try out: Applying your highlighter just after you've sprayed your face with setting spray so it gives in an extra shine that stays all day!

Look at that glow! So natural but glowy af when it hits the light! I wish you guys could have seen it in real life!


To prime/ soften my lift I applied my favourite lip balm ever

And to finish I took one of my favourite deep red lipsticks! Maybelline's divine wine, which my sister bought for me about 3 years ago!


So gorgeous! And here's the finished look!


I didn't end up doing anything with my hair so that's the end of my get ready with me! Hope you've enjoyed and feel free to request looks you wanna see me try within this series. Till next time!
E x
*THIS POST IS AN EXACT COPY AND WAS ORIGINALLY POSTED ON BLOG ESPEARUPDATES.COM ON JUNE 19th 2018*
0 comments